One of the biggest things I struggled with when I started blogging was images — taking them, uploading them, organizing them, editing them, backing them up, and ultimately resizing and compressing them. These days, I have a system that works (more or less):
Taking photos!
This is easily the most fun part, for obvious reasons. I’ll take photos with both my DSLR (currently a Nikon D50 — yep, I’m old school like that) and my smartphone (iPhone 5S)
Uploading
Meh. A little mundane, but thankfully just a matter of connecting smartphone to computer or SD card to computer. For the last several years, I’ve created a new folder for each upload that looks like this: 20171009 Germany. In other words, it’s ‘YYYYMMDD [name of city or country].’ Doing it this way keeps the chronological order of the pictures, and the city / country names help when searching. You could always change the order of these two things, of course.
Editing
Ugh. Everyone does this a bit differently, of course. I’m still using Google Picasa, a program that isn’t being updated anymore. Just because a program is deprecated doesn’t make it any less useful… though I’ll admit the incredible work that can be done in Lightroom and Photoshop. I just haven’t put in the time to learn them.
Selecting and exporting
This will be different based on what the pictures are of, and how I’ll be using them. For photos I’ll use on the blog, I’ll export them at around 800 pixels and at JPEG quality 70 (which to my eye is the best compromise of size and quality). These will get saved into a separate folder with the same date and place convention (‘YYYYMMDD [name of city or country]’.
Why 800 pixels, you ask? It’s a nice round number? It’s based on the biggest size needed on my blog in the main column. This will be different for every blog, naturally, but if you uploaded them straight from your device to your website, they’d be far too large to show on a computer screen. Check one of your blog posts in a full browser window to see the biggest size your theme displays.
From here, there’s a couple more things to do:
Compress the photos
I now have two versions of the same photos, in two different folders, and at two different sizes. The former is the original, and the latter is the copy I’ll use on the blog. It’s the latter I’ll be compressing, since it’s not (typically) a lossless process.
There’s a few ways to do this, but first: why? On most webpages, the size of the code to place and style the text is tiny compared to the size of even a couple of images. Your original photos, even from a smartphone, can be well over a megabyte. While WordPress does some behind the scenes work and your browser does some nifty resizing work on the fly, your reader still has to download the original-sized photos before the browser can resize it.
There are plenty of tools to compress photos, both as programs to download to your computer and as services you can use online. I’m personally using FileOptimizer on Windows, and was happy with ImageOptim when I had a Mac. Drag your photos from the folder and drop them on the shortcut icon, then let the program do its magic. If you’d rather handle this online, Optimizilla and Compressor.io are both great options.
A new option to make photos look great?
While I’ve used WordPress for almost as long as I’ve known about it, I’ve heard good things about Wix and their tools for how to make a website. When I first heard about Wix a few years ago, I was pretty locked into WordPress and only knew of the plugins they offered. The only way to get your site to get X, Y, or Z was a WordPress plug-in. That was then, when Wix wasn’t as fully-featured as it is now.
Have a look at what Wix calls their ‘App Market’ (broadly similar to the WordPress repository):
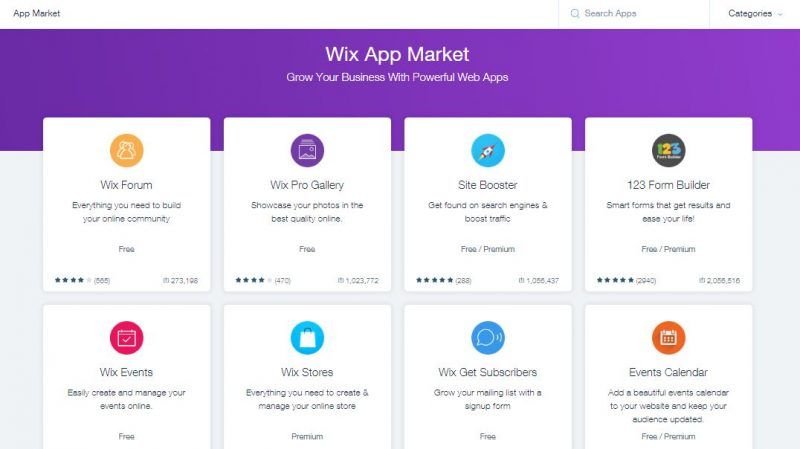
A forum? A pro gallery to display photos? A tool to help SEO? A form builder? Events, a store builder, a call-to-action for e-mail subscribers, a countdown clock, cookie alert… it’s a cliche, but the list keeps going and going. It’s not an exaggeration to say there’s an option to cover almost any use case, from personal to business and from simple to advanced. The selection is limited to Wix-created apps along with some third-party options, which means you won’t have to scroll through half a million options to find the handful you’re looking to install.
Since we’re talking about photos in this post, let’s give that ‘Wix Pro Gallery’ a closer look:
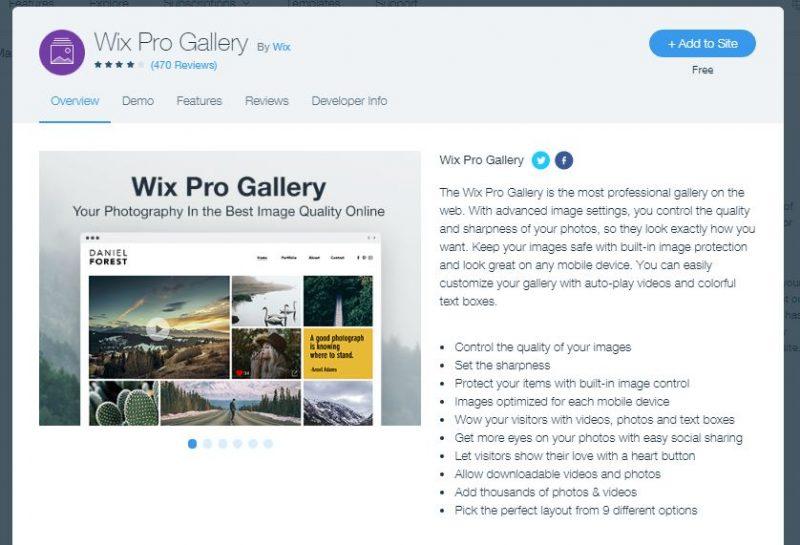
Change the image quality on-the-fly, play with the sharpness, images optimized for mobile devices, and nine layouts? Nice. You might want that ‘Image Control’ to prevent hotlinking or not allow people to save your photos. Also? It’s available even as part of their free account. Many of the top apps in this market feature hundreds of thousands (and in some cases, over a million) downloads. Whether they’re free to use or part of the Premium offerings, it wraps up to one monthly / annual fee instead of one to your hosting company, one for this plugin, one for that service…
You may want to stick with WordPress if you want to tinker on the back end or make lots of technical changes or optimizations. I’m positive a well-run, optimized WordPress website is as fast (or faster) than Wix’s servers can run… but getting to offload that responsibility on someone else so you can focus on creating awesome stuff is a worthy cause.
As a final note on Wix, I have to believe these plugins and tools all play nice with each other. They’re all pulling data off the same managed servers (presumably optimized to run their service), and you likely need fewer Wix apps to do much the same thing as WordPress plugins. I can’t know this without seriously testing this for myself, of course, so let’s call it a gut feeling rather than a stated fact.
In short, if you opted to use WordPress because it was the only way to do any number of things, Wix is worth a fresh look. If you’re sticking with WordPress, there’s still plenty of ways to make your photos rock.
Like this post? Like the Facebook page!